import sys
print(sys.executable)C:\Users\Magnus\.conda\envs\python-ws23\python.exeIn this tutorial, you will learn how to install all packages that are necessary to automate tasks with Python and LISPro3D.
In this tutorial we want to show you a quick way to set up a fully-featured python coding environment in order to use the SAGA GIS / LISPro3D python API. If you are already into python you can skip irrelevant steps and apply it to your own python installation.
In the following we want to install:
LISPro3D with all its tool libraries
Microsoft Visual Studio Code (In order to create our python code and run it)
Python extension for VSCode
Miniforge and Python (In order to have a convenient management of python modules and no conflicts with other python installations)
Python Modules such as Numpy, Scipy, and Matplotlib, in order to have additional functionality for e.g. creating informative graphs
Quarto markdown in order to create informative html-reports
Quarto extension for VSCode
SAGA Python API, in order to have access to all SAGA and LISPro3D Tools with Python
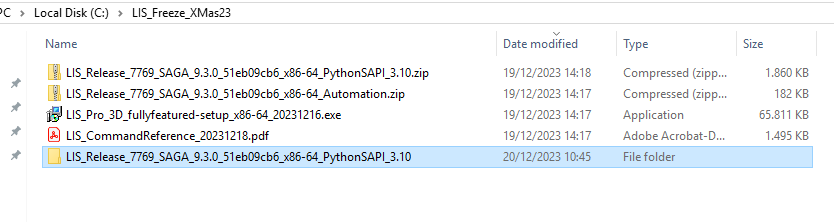
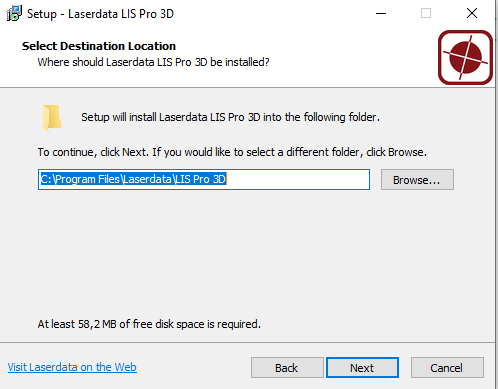
Use the provided file package in order to install LISPro3D!
Find the LISPro3D installation files and run executable! 


Right Click onto the LISPro3D Desktop Icon and select Open file location.
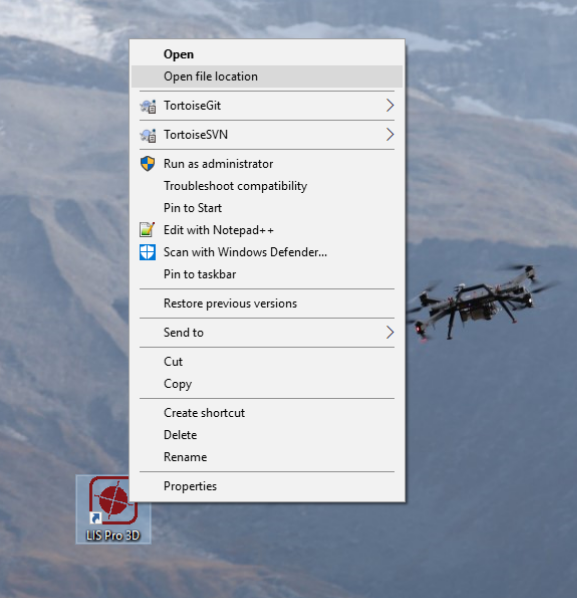
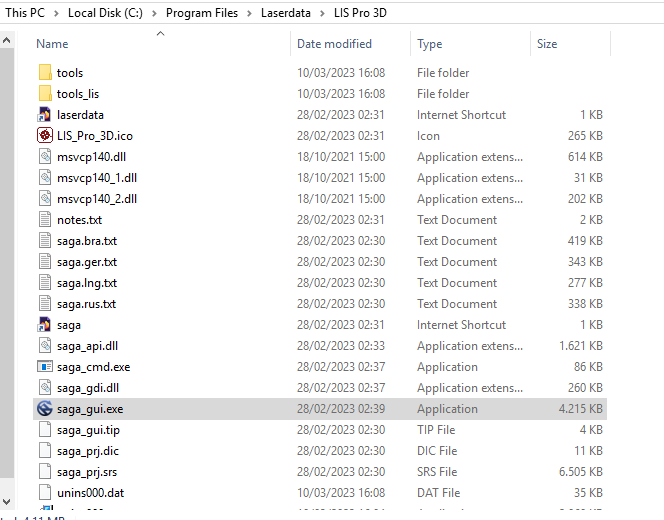
Here, you can find your installation location.
This path is relevant later for your python scripts. Therefore the installation created the system environmental variable SAGA_PATH pointing on this location. This allows Python later to find the actual tool to run.
Microsoft Visual Studio Code (VS Code) is a free source-code editor developed by Microsoft for Windows, Linux, and macOS. We will use it to edit our python code. VS Code provides developers with a powerful and customizable development environment for building and debugging various types of applications. It is widely used by developers across different programming languages and frameworks.
VS Code has gained popularity among developers due to its lightweight nature, rich set of features, and wide support for various programming languages and frameworks. It has a thriving community that actively develops and maintains a wide range of extensions, making it a versatile and powerful tool for modern software development.
We will use it basically for writing our python code, testing it and finally running it.
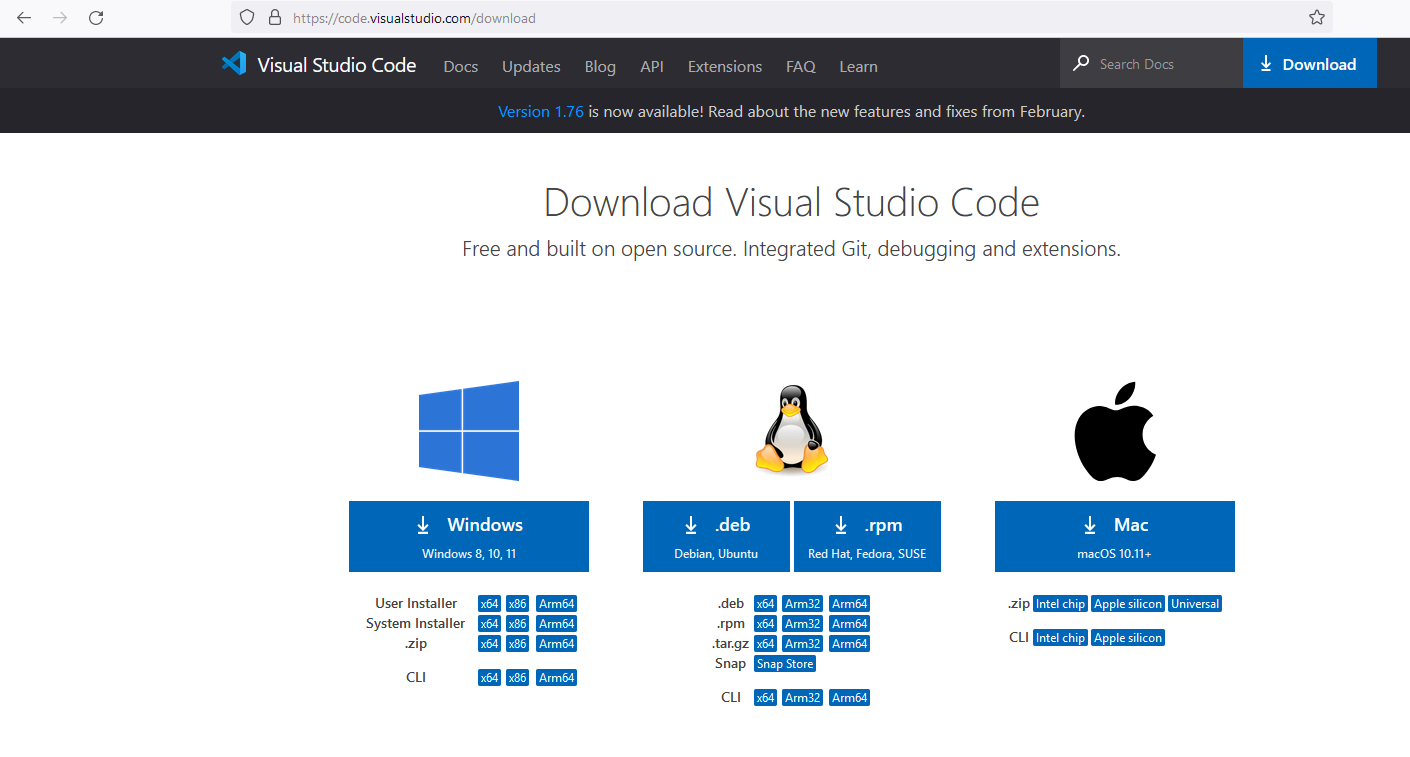
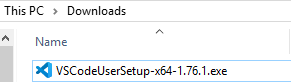
Go to: https://code.visualstudio.com/download and download the appropriate version of VSCode!
In our example: User Installer , x64
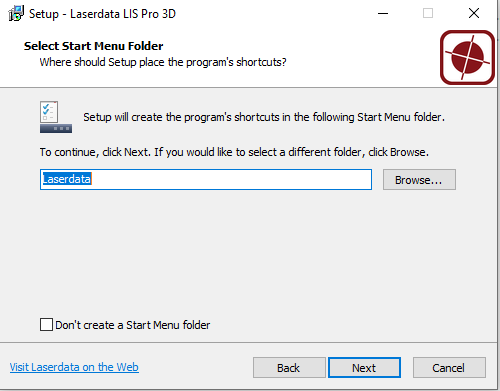
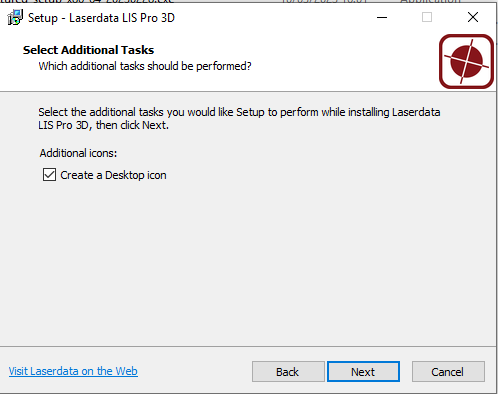
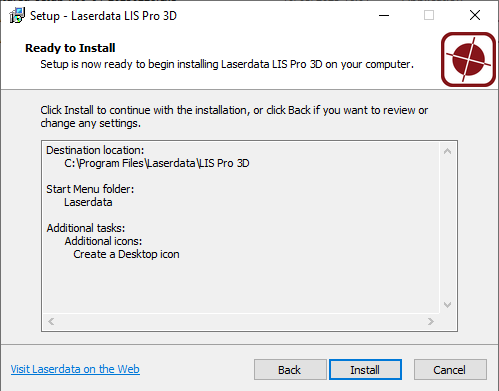
Follow the installation wizard and accept the defaults!
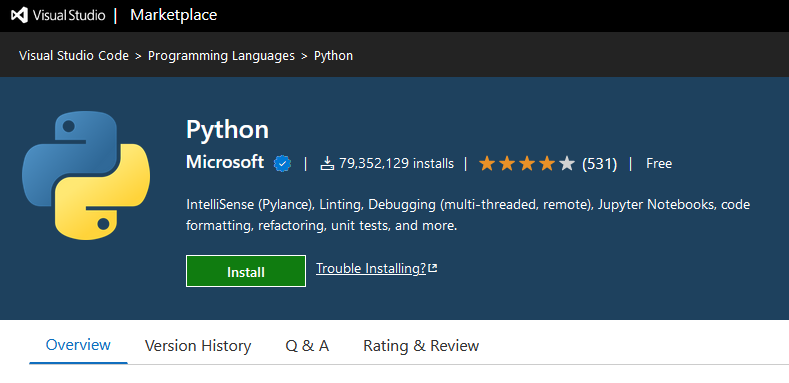
In order to write python code with VS Code, we have to install the python extension first. This allows VS Code to interprete our python code, apply syntax highlighting for better readability and auto-completion for more more convenient coding.
Go to: https://marketplace.visualstudio.com/items?itemName=ms-python.python and install the python extension
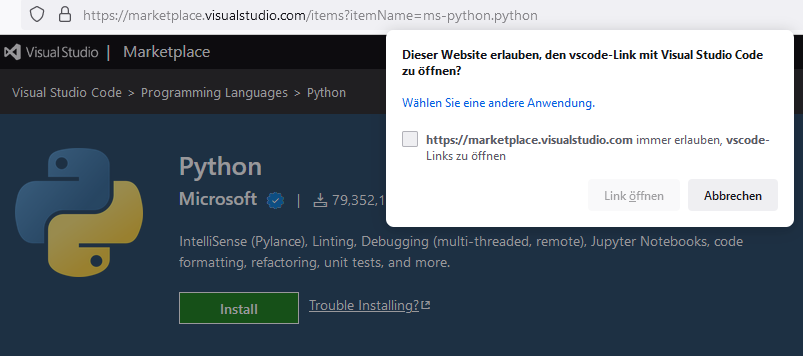
VSCode will open automatically and asks you to install the Python Extension.
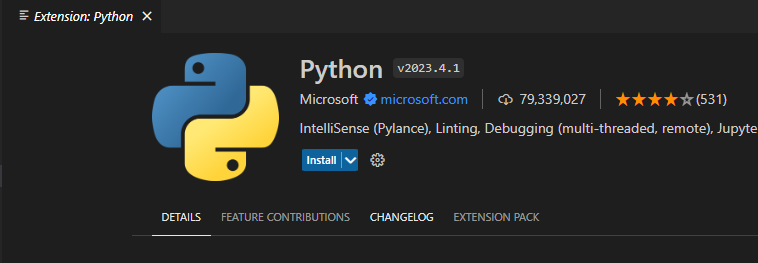
Click Install!
Quarto is an open-source, multi-language computing environment primarily used for creating data-driven documents. It allows users to combine code, text, and visualizations in a single document, enabling the seamless integration of computational and narrative elements. Quarto is an optional installation that we suggest in order to automatically create reports, protocols or other documents in order to describe and present data.
Go to: https://quarto.org/docs/get-started/ and install Quarto!
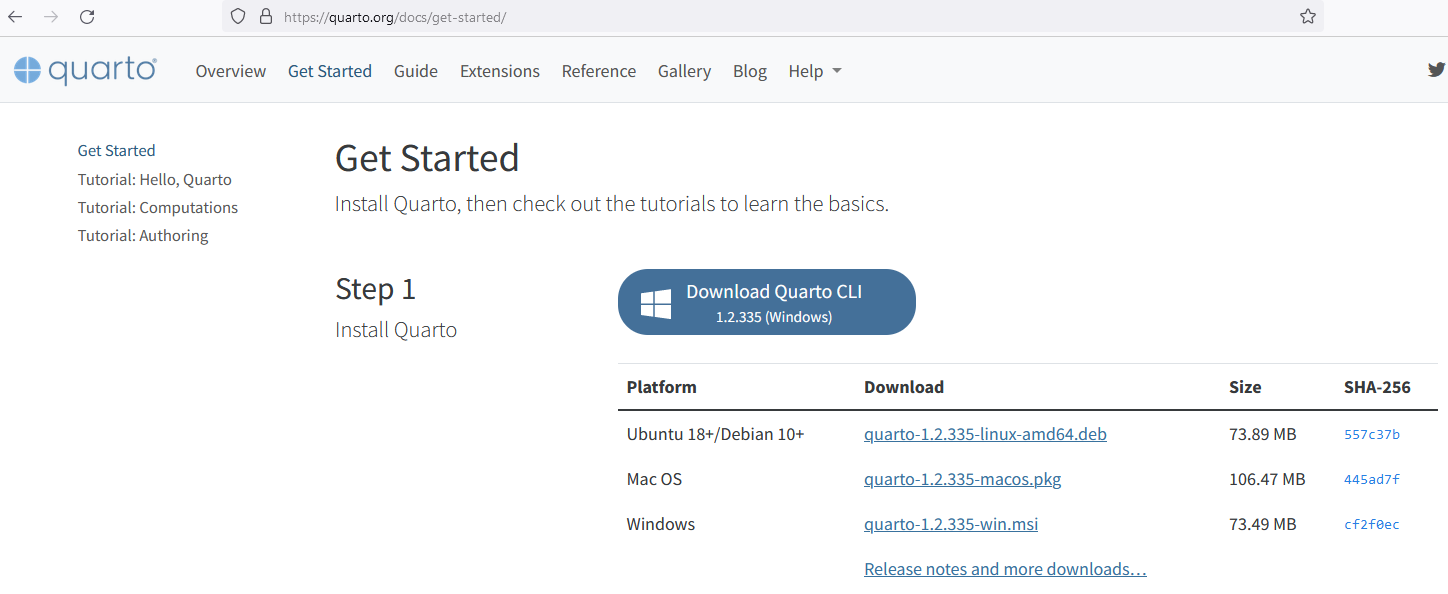
Follow the installation wizard and accept the defaults! 
In order to allow VS Code to interprete and render quarto code, we need to install the quarto extension for VS Code.
Go to: https://marketplace.visualstudio.com/items?itemName=quarto.quarto and click Install 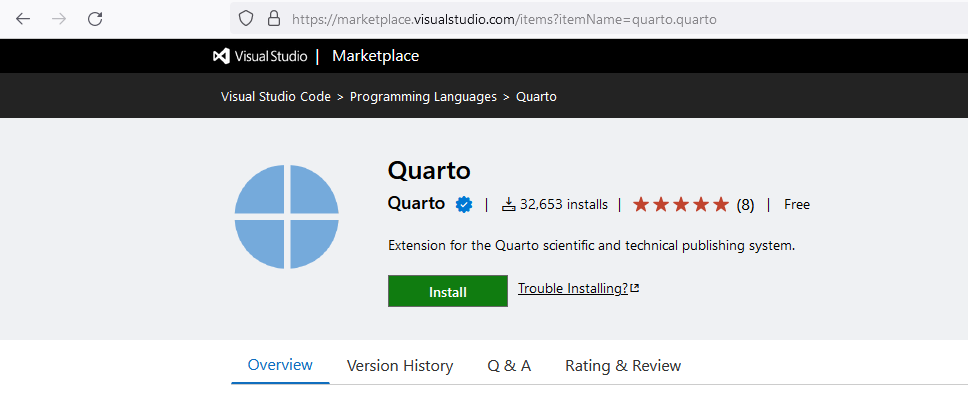
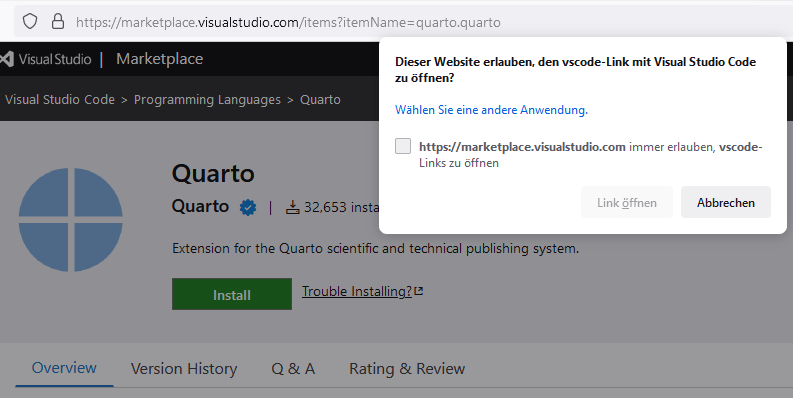
VSCode will open automatically and asks you to install the Quarto Extension.
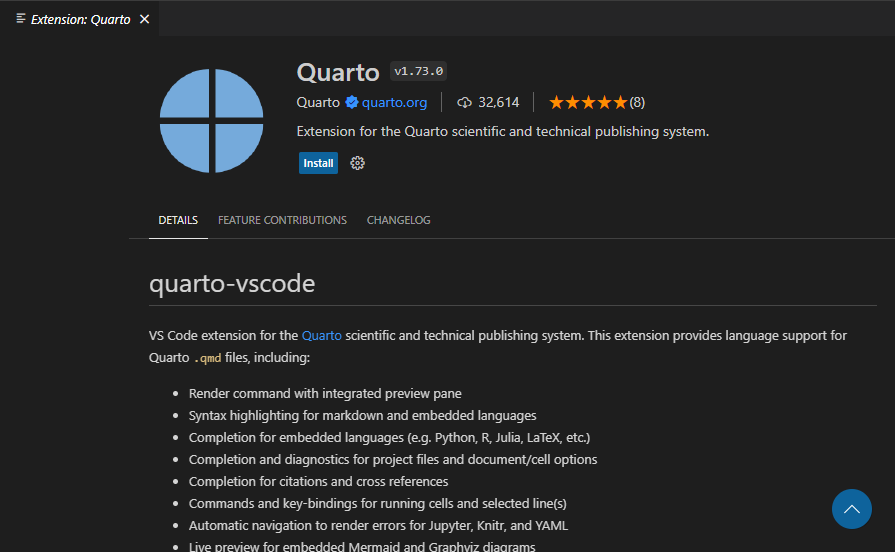
Click Install!
We use Python together with a package manager, which helps us managing our installed python packages and avoids conflicts between different python installations you might already have on your computer. This improves the usability.
The package manager we suggest here is called Miniforge. It is a distribution of the conda package manager, which itself is a package and environment management system. Miniforge provides a minimal installer for conda that includes only the essentials needed for conda to function. Conda is an open-source package management system and environment management system for installing multiple versions of software packages and their dependencies. It is commonly used for scientific computing, data processing, and machine learning projects.
Go to: https://github.com/conda-forge/miniforge and scroll down to the installers!

Install the appropriate Version: Here Windows, x86_64.
Follow the installation wizard and accept the defaults!

Use the Windows Search to search for the Miniforge Prompt and start it! 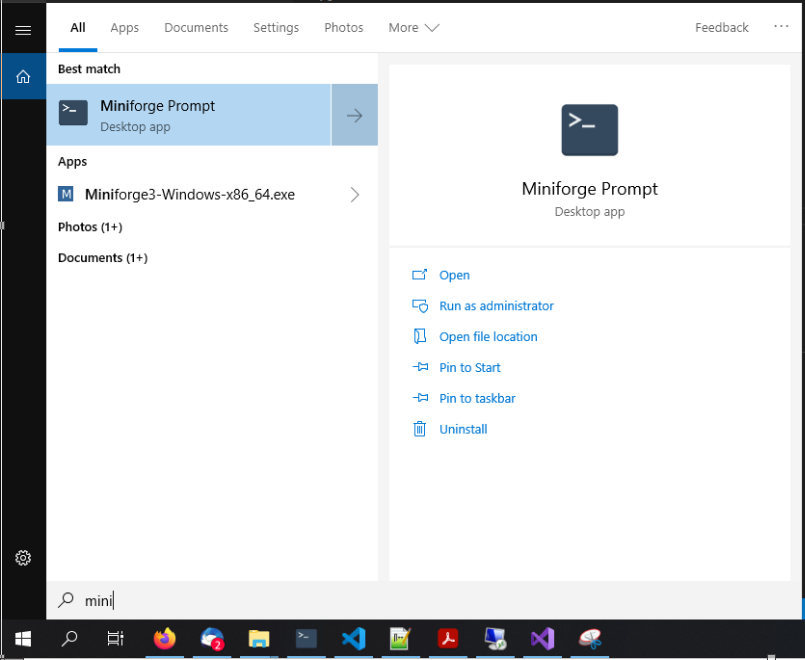
This should look similar to this:
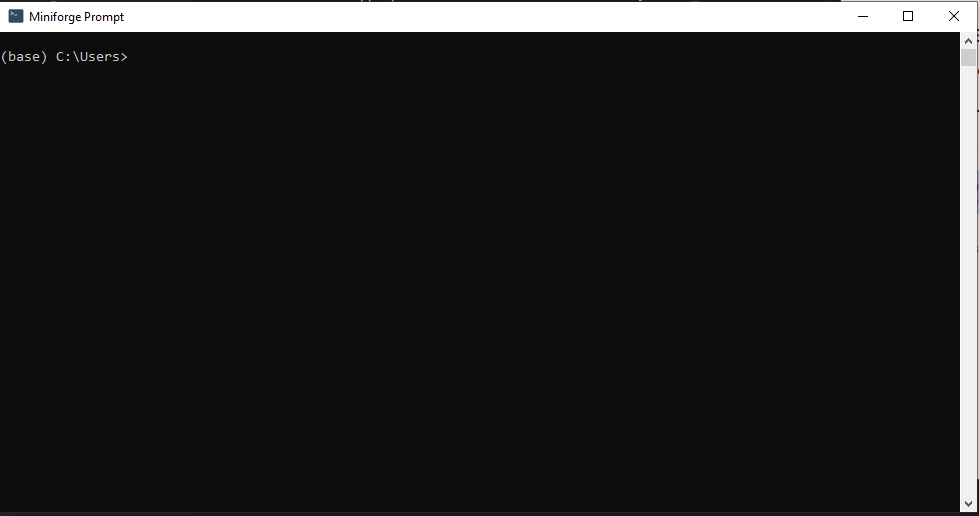
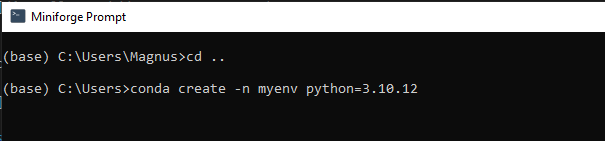
In the moment we are in the miniforge so-called (base) environment. For our purpose we want to create our own encapsulated environment.
In this encapsulated environment, we can install an isolated python version (not conflicting with other installations on our computer) and add our customized set of selected python packages, including the LIS Pro 3D Python Interface.
Write: conda create -n myenv python=3.10.12
Take care which kind of python version you install (here 3.10). When using PySAGA for integration with LISPro3D later, you have to take care that you also use the same python version (in this case 3.10)!
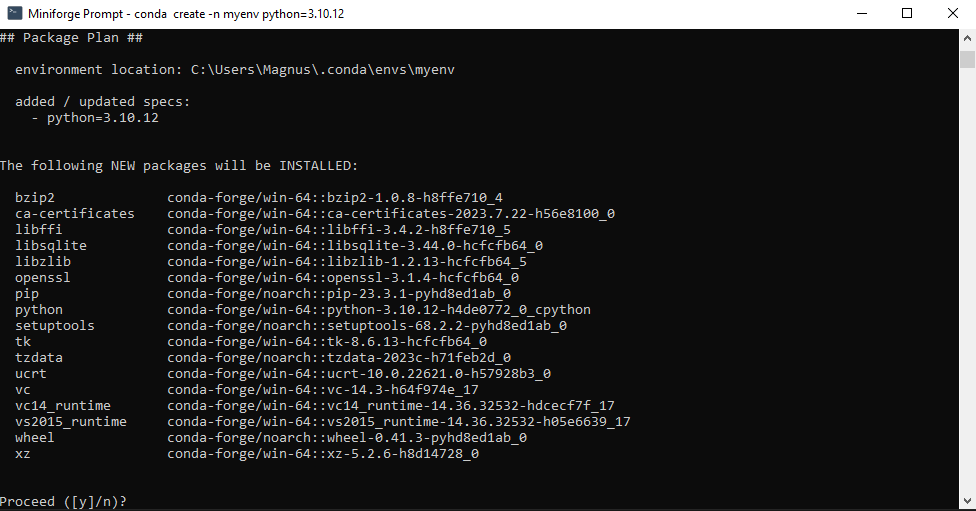
Note that (after sucessful creation) you can remove this and all your other environments easily by typing conda remove -n myenv —all!
proceed by typing y and ENTER
After the creation of your environment is finished you can type: conda activate myenv (or the name that you have chosen for your conda python environment)

Now in each line the (myenv) shows that you are in your own environment. By typing conda deactivate, you will get to the base environment again.
With your environment activated ((myenv) is written on the left)
Type: conda install numpy in order to install numpy

proceed with y

Type: conda install scipy in order to install scipy
Type: conda install matplotlib in order to install matplotlib
Type: conda install py in order to install py (used for parallelization)
Type: conda install folium in order to install folium (used to create leaflet maps for web)
After the installations are finished type python

Python will start, indicated by ** >>> ** on the left site.
Type:

import sys
print(sys.executable)C:\Users\Magnus\.conda\envs\python-ws23\python.exeThis is the path, where your environment is located.
Type:
exit()in order to close python again!
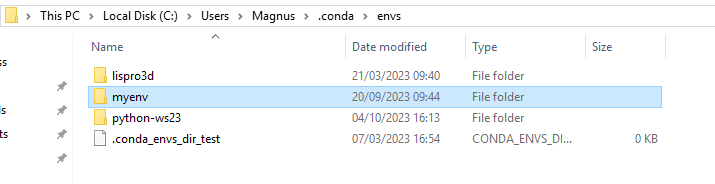
In this case we want to go to our environment myenv.
Note that you can create, maintain or delete multiple python environments in parallel! If you want to use the LISPro3D tools in all your existing environments, you need to repeat the next steps for all your given environments. If you have different environments, you can also install different versions of python (3.9, 3.10, 3.11). In our case we have chosen the python version 3.10 for myenv.
If you use different environments (with different python versions), take care that you never use the wrong python version of the PySAGA package provided with LISPro3D (Always use a 3.9 PySAGA Package with a 3.9 conda environment, use a 3.10 PySAGA Package with a 3.10 conda environment, …)!
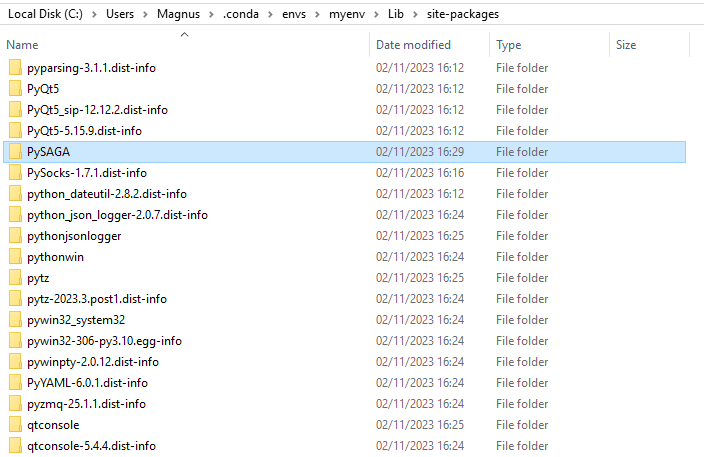
In your environment you can find the sub folder Lib\site_packages. Into this folder all additional modules are installed (numpy, scipy and matplotlib).
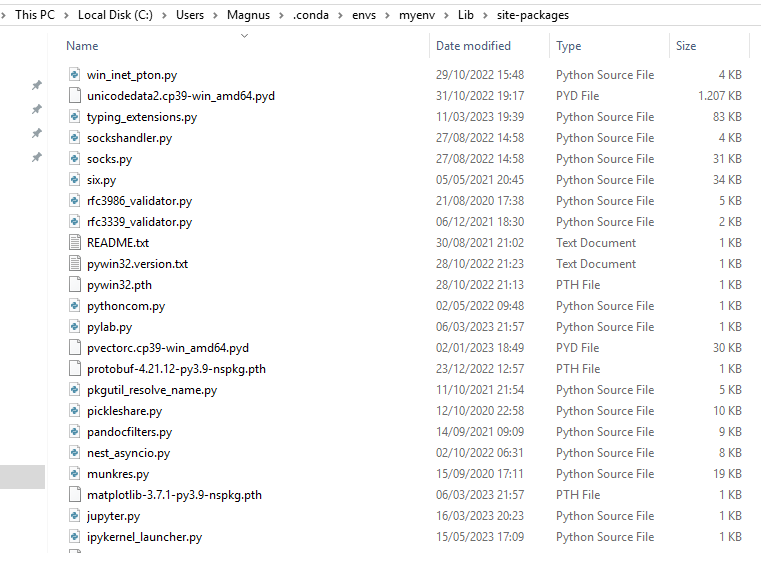
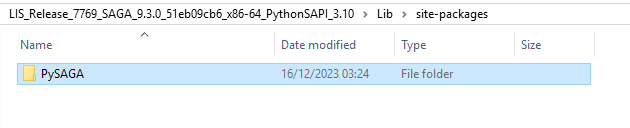
Now we want to copy the SAGA Python API folder into the Lib\site_packages of your conda environment!
The SAGA Python API folder has been provided as a *.zip-file together with the LISPro 3D installer
Find the LISPro3D installation files and extract the LIS_Release_7769_SAGA_9.3.0_51eb09cb6_x86-64_PythonSAPI_3.10.zip into the same folder! (Filename with respect to your LISPro3D version and your Python version)